iOS——隐形水印的算法和实现
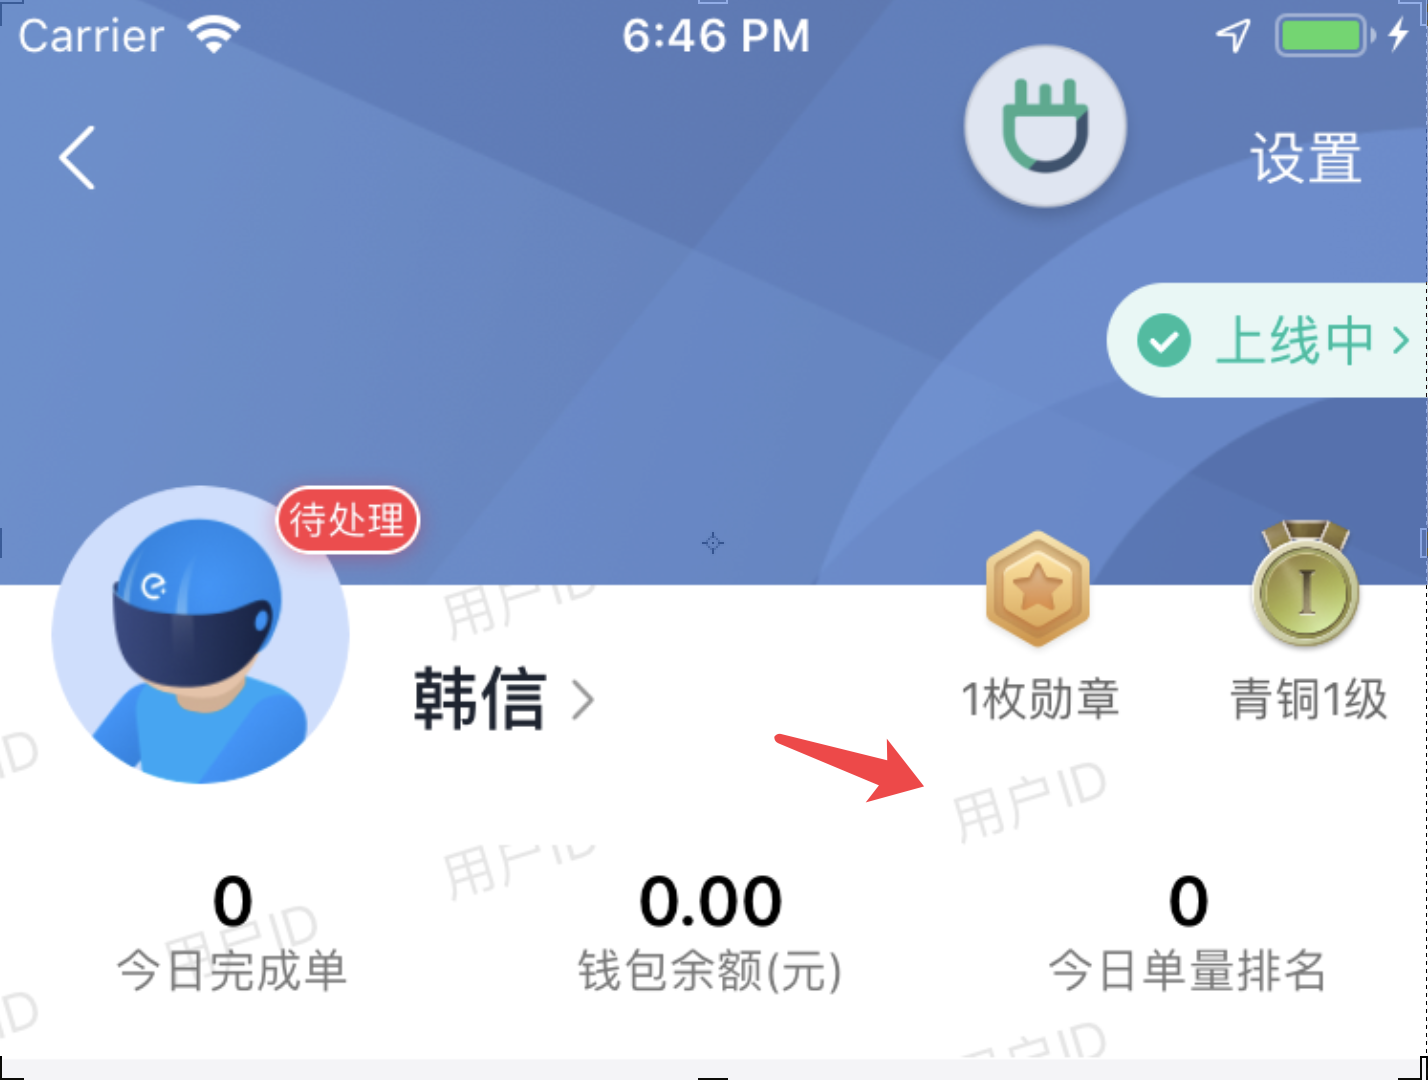
很多 APP 都在敏感页面有水印,主要为了应对舆情时可以追踪图片来源,一般在水印上都会有员工或用户 ID 和昵称。
水印的用途总结有亮点:
- 追踪来源
- 威慑作用
威慑作用是指当用户看到水印时,会自觉避免违法传舆行为。
但是,当不需要威慑作用时,例如,为了保持应用或者图片的美观,显形的水印似乎不是那么必要,这时候可以考虑使用隐形水印。
最近在同事在知乎上看到一种水印。
如下图,表面似乎没有什么水印
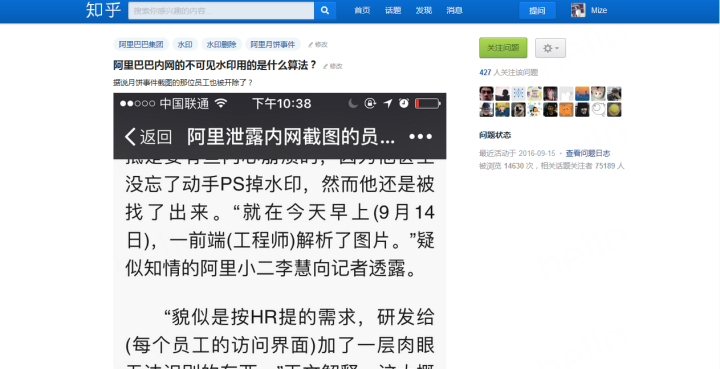
但通过 PS 的混色模式处理后,隐形水印就显示出来了

具体处理方式是
- 在原图上图层添加全黑图层
- 全黑图层选择『颜色加深』
到此为止,我对 PS 的算法产生了好奇,混色模式是常用工具,但是以前没有注意过公式。
颜色加深混色模式
PS 的混色模式,其实是底图和混色层的每个像素点,经过一系列计算后得到的结果层。
翻阅了一系列资料后我发现,现有的公式都是不正确的,有些热门文章里也不对。而 PS 官方文档只对几种混色模式进行了介绍,而并没有给出公式。
查看每个通道中的颜色信息,并通过增加二者之间的对比度使基色变暗以反映出混合色。与白色混合后不产生变化。
https://helpx.adobe.com/cn/photoshop/using/blending-modes.html
比较多的是这套公式:
结果色 = 基色-[(255-基色)×(255-混合色)]/混合色
公式中(255-基色)和(255-混合色)分别是基色和混合色的反相。
- 若混合色为0(黑色),(基色×混合色)为0,得到的数值为一相个负值,归为0,所以不论基色为何值均为0。
- 当混合色的色阶值是255(白色)时,混合色同基色。
基本查到的算法公式都有一个致命问题,公式都标明了,任何颜色和黑色混色结果为黑色,这显然与上文中 PS 处理结果不符合。如果按照这套理论,整个图片都应该黑了。
最后我试出来一个接近的方案是,
- 结果色 = 基色 —(基色反相×混合色反相)/ 混合色
- 如混色层为黑色,则认为 RGB 为 (255, 255, 255),即非常深的灰色
这个公式可以基本实现 PS 中的颜色加深效果。可以将浅色变深,越浅越深。
隐形水印的实现
添加水印
首先介绍 iOS 中的基本图像处理方式:
- 获取图片的所有像素点
- 改变指针指向的像素信息
1
2
3
4
5
6
7
8
9
10
11
12
13
14
15
16
17
18
19
20
21
22
23
24
25
26
27
28
29
30
31
32
33
34
35
36
37
38
39
40
41
42
43
44
45
46
47
48
49
| + (UIImage *)addWatermark:(UIImage *)image
text:(NSString *)text {
UIFont *font = [UIFont systemFontOfSize:32];
NSDictionary *attributes = @{NSFontAttributeName: font,
NSForegroundColorAttributeName: [UIColor colorWithRed:0
green:0
blue:0
alpha:0.01]};
UIImage *newImage = [image copy];
CGFloat x = 0.0;
CGFloat y = 0.0;
CGFloat idx0 = 0;
CGFloat idx1 = 0;
CGSize textSize = [text sizeWithAttributes:attributes];
while (y < image.size.height) {
y = (textSize.height * 2) * idx1;
while (x < image.size.width) {
@autoreleasepool {
x = (textSize.width * 2) * idx0;
newImage = [self addWatermark:newImage
text:text
textPoint:CGPointMake(x, y)
attributedString:attributes];
}
idx0 ++;
}
x = 0;
idx0 = 0;
idx1 ++;
}
return newImage;
}
+ (UIImage *)addWatermark:(UIImage *)image
text:(NSString *)text
textPoint:(CGPoint)point
attributedString:(NSDictionary *)attributes {
UIGraphicsBeginImageContext(image.size);
[image drawInRect:CGRectMake(0,0, image.size.width, image.size.height)];
CGSize textSize = [text sizeWithAttributes:attributes];
[text drawInRect:CGRectMake(point.x, point.y, textSize.width, textSize.height) withAttributes:attributes];
UIImage *newImage = UIGraphicsGetImageFromCurrentImageContext();
UIGraphicsEndImageContext();
return newImage;
}
|
显示水印
通过上文提到的公式,可以让水印显示。
1
2
3
4
5
6
7
8
9
10
11
12
13
14
15
16
17
18
19
20
21
22
23
24
25
26
27
28
29
30
31
32
33
34
35
36
37
38
39
40
41
42
43
44
45
46
47
48
49
50
51
52
53
54
55
56
57
58
59
60
61
62
63
64
65
66
67
68
69
70
71
72
73
74
75
76
77
78
79
| + (UIImage *)visibleWatermark:(UIImage *)image {
UInt32 * inputPixels;
CGImageRef inputCGImage = [image CGImage];
NSUInteger inputWidth = CGImageGetWidth(inputCGImage);
NSUInteger inputHeight = CGImageGetHeight(inputCGImage);
CGColorSpaceRef colorSpace = CGColorSpaceCreateDeviceRGB();
NSUInteger bytesPerPixel = 4;
NSUInteger bitsPerComponent = 8;
NSUInteger inputBytesPerRow = bytesPerPixel * inputWidth;
inputPixels = (UInt32 *)calloc(inputHeight * inputWidth, sizeof(UInt32));
CGContextRef context = CGBitmapContextCreate(inputPixels, inputWidth, inputHeight,
bitsPerComponent, inputBytesPerRow, colorSpace,
kCGImageAlphaPremultipliedLast | kCGBitmapByteOrder32Big);
CGContextDrawImage(context, CGRectMake(0, 0, inputWidth, inputHeight), inputCGImage);
for (int j = 0; j < inputHeight; j++) {
for (int i = 0; i < inputWidth; i++) {
@autoreleasepool {
UInt32 *currentPixel = inputPixels + (j * inputWidth) + i;
UInt32 color = *currentPixel;
UInt32 thisR,thisG,thisB,thisA;
thisR = R(color);
thisG = G(color);
thisB = B(color);
thisA = A(color);
UInt32 newR,newG,newB;
newR = [self mixedCalculation:thisR];
newG = [self mixedCalculation:thisG];
newB = [self mixedCalculation:thisB];
*currentPixel = RGBAMake(newR,
newG,
newB,
thisA);
}
}
}
CGImageRef newCGImage = CGBitmapContextCreateImage(context);
UIImage * processedImage = [UIImage imageWithCGImage:newCGImage];
CGColorSpaceRelease(colorSpace);
CGContextRelease(context);
free(inputPixels);
return processedImage;
}
+ (int)mixedCalculation:(int)originValue {
int mixValue = 1;
int resultValue = 0;
if (mixValue == 0) {
resultValue = 0;
} else {
resultValue = originValue - (255 - originValue) * (255 - mixValue) / mixValue;
}
if (resultValue < 0) {
resultValue = 0;
}
return resultValue;
}
|
代码和开源库
为了方便使用,写了一个开源库,封装的很实用,附带 DEMO
ZLYInvisibleWatermark